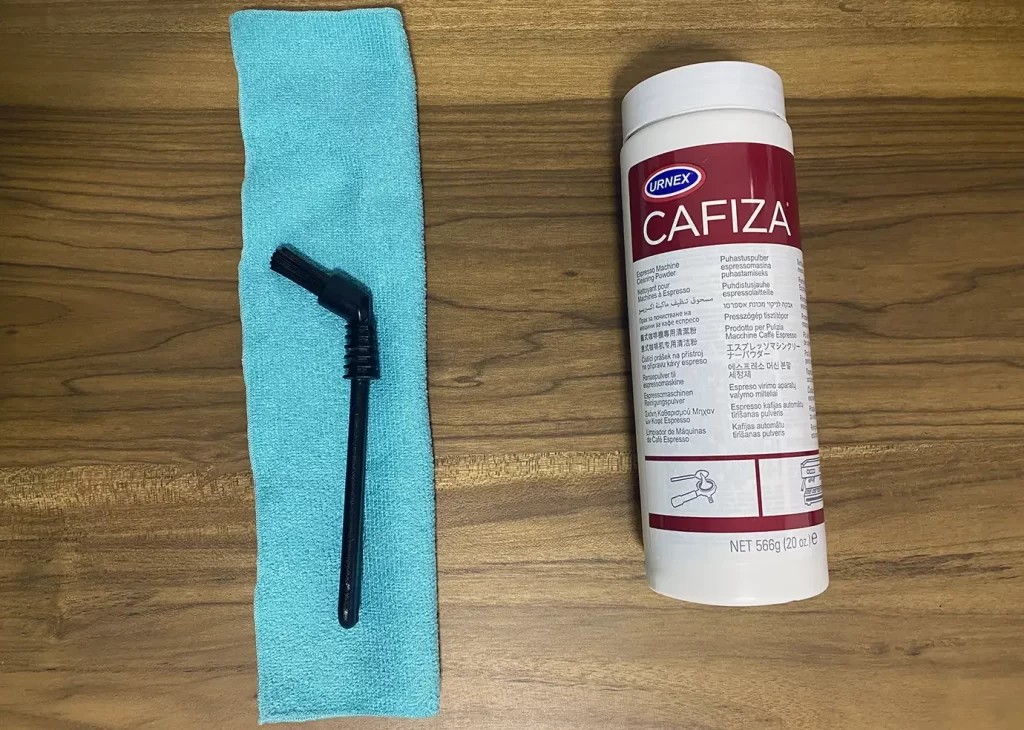
Regular maintenance will prolong the life of your espresso machine and keep it functioning properly. It is generally recommended that espresso machines be serviced after 3-4 years by an authorized professional. With this in mind, regular maintenance on your part will help you save money by not requiring professional service before the 3–4-year mark.
Maintenance should be routine and if done correctly won’t be cumbersome. And like most things, it gets easier with time. You’ll just need to be consistent and having a routine will remind you of what needs to be done. Before we get into maintenance, we’ll cover cleaning that should be performed on a daily basis.
Daily Cleaning
Portafilters – the best practice is to clean them after making an espresso. Doing so will make it easier to clean because leaving coffee grinds inside might result in staining the portafilter and making the cleanup more challenging. You clean the portafilter directly in a sink and afterwards dry it with a a microfiber towel. If a brush is needed to remover stuck coffee grinds from the mesh, then use a hard bristle one that probably came with your machine. And if you don’t have one, they are sold online.
Drip tray – remove the drip tray and empty the water inside. Afterwards, rinse it to remove any remaining water and tiny coffee grinds and specks. Make sure to inspect the corners as coffee grinds might accumulate there a Q-tip is help to get to these grinds. Once that’s completed, dry the drip tray thoroughly and look for any signs of oxidation, water stains or stains from coffee drips. Use a microfiber towel to remove them if necessary. Do this daily, and it’ll keep you’re drip tray looking new. Also note, oxidation is more prevalent in coastal areas.
Steam valve – if you make cortados or other beverages with milk and froth milk then clean the steam valve immediately after frothing. You don’t want sticky hardened milk inside or outside your steam valve to get stuck. Cleaning any reside that might be inside is performed by allowing hot water to run after frothing milk. For the outside of the steam valve, use a wet towel to remove excess milk. Just make sure not to burn yourself as the steam valve can be extremely hot.
Espresso machine body – use a slightly wet microfiber towel to clean espresso once it is at room temperature. The area you won’t to focus on is underneath the group head as that is where coffee and hot water tends to splash.
Daily cleaning usually only requires water but if you need detergent then use food safe detergent and keep it at a minimum.
Shower screen, group gasket and lower part of brew group regular cleaning
The group head area is where the brewing occurs and area to keep clean. It might be hidden from sight but keeping this area clean extremely important. You can perform this part of maintenance after every espresso session or at least once a night after your final espresso.
The process should be easy without requiring much time Make it a habit to run hot water without the portafilter after every espresso made. This should remove any coffee grinds that might be stuck in the shower screen. A new espresso machine usually comes with a small hard brush to brush the shower screen and group head. Do this as often as needed and it’s better to do so before more coffee grinds accumulate as this not only negatively affects functionality but also quality of espresso.
Clear Water Backflush
Backflushing eliminates residue coffee grinds and their grease or coffee bean oils from an espresso machine group head, valves and system plumbing. It’s recommended you do this once a day after your final espresso. However, how often depends on the brand you own. Breville recommends for their Barista Express a clear water backflush after each brewing session.
A common routine that is generally acceptable is to backflush once a day. Some espresso machines vendors suggest this for cautious people but also point out that once or twice week is ok too. It’s an easy process and once a day is not an issue. The problem is not remembering, and if so don’t fret over it and do it the following day.
The process for clear water backflushing:
- Heat up espresso machine.
- Put a blind basket inside a portafilter and insert it inside the group head.
- Press the coffee making button for 10-20 seconds (enough time to build pressure) and release.
- Repeat this 3 times in intervals of 20 seconds.
- Remove the portafilter and you’re done.
Chemical Backflushing
Chemical backflushing, unlike clear water backflush, uses a specially formulated chemical that not only removes coffee grinds but also oils from the coffee grinds. It’s cleaning and degreasing. The process is more thorough and doesn’t need to performed frequently.
Depending on the brand you own and also how often you make espressos, you’ll have to do this after 70-140 single shots of espressos. This can correlate to monthly, bi-monthly or every two months. Some brand like Profitec can be programmed to set a remainder for this type of cleaning. Read the user manual to see if you have this option in your machine. It’s quite handy, and if you don’t then remind yourself by other means.
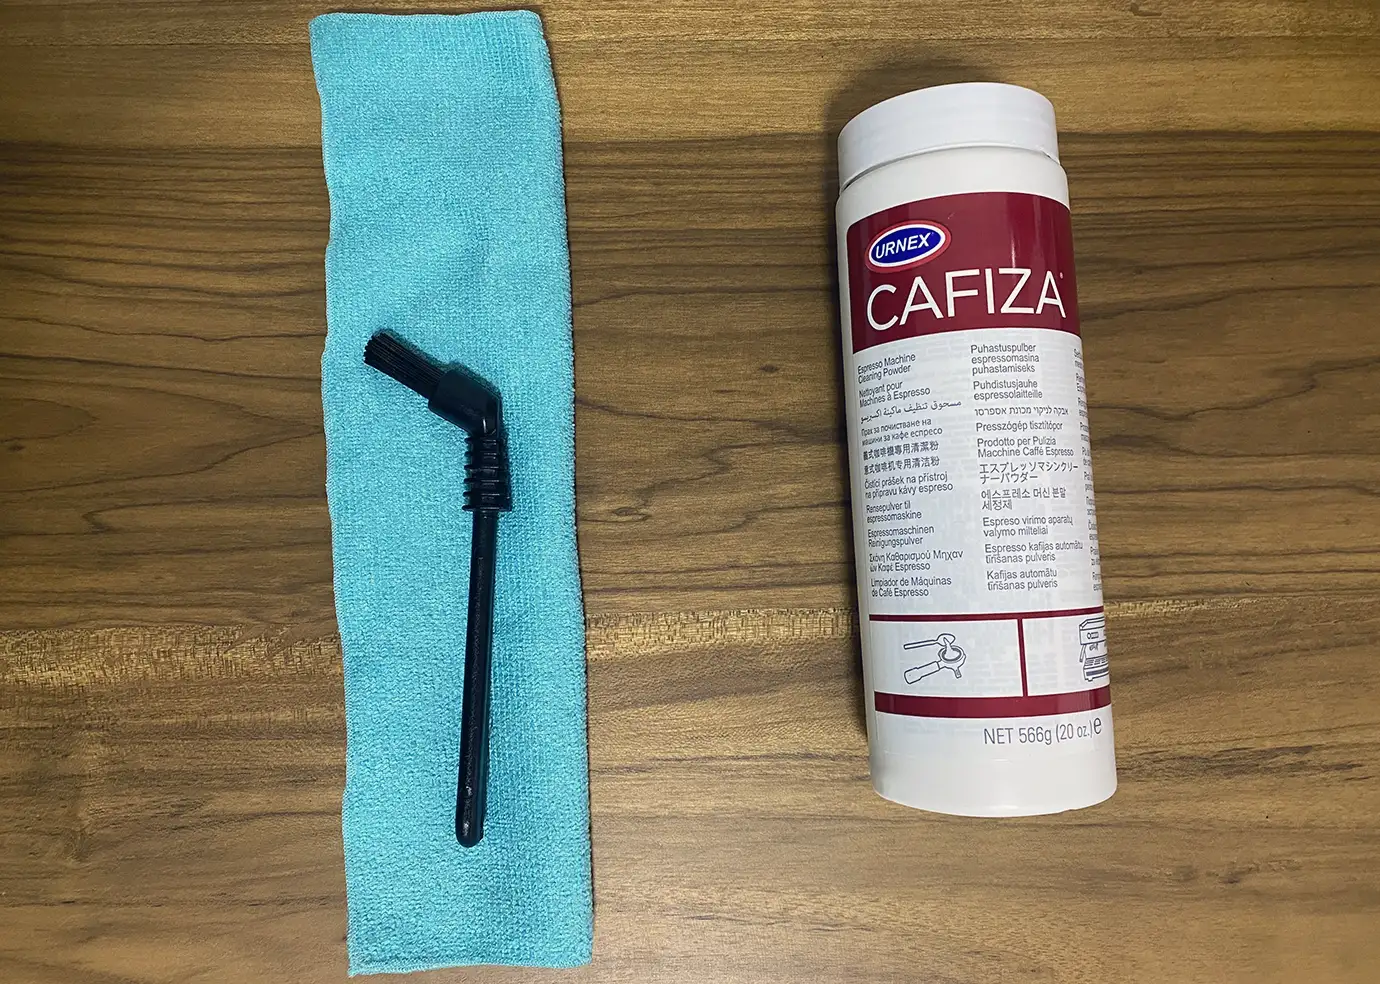
The cleaning agent you’ll need might come in tablets or powder. A popular brand is Urnex Cafiza, it’s effective and popular with espresso machine owners.
How to perform a chemical backflush?
- Heat up espresso machine.
- Put 3-5 grams of Cafiza inside a blind basket and place the basket inside a portafilter.
- Clamp the portafilter inside the group head.
- Press on the coffee button. This fills the blind basket with water.
- Release the coffee button after about 10 seconds or enough time for pressure to build.
- Repeat step 5 several times in intervals of 20 seconds and until the water being backflushed is clear.
- Remove the portafilter from the brew group and rinse it with water to remove any residue.
- Put the portafilter back inside the group head and continue to backflush like you did in steps 4 and 5. The difference here is that it’s clear water and without Cafiza. This allows any excess of Cafiza to be removed from within the system and also any remaining specks of coffee.
- The water should be completely clear now, and the espresso machine is ready for use again.
Replacing the group casket and the shower screen
This part of maintenance needs to be performed once or twice a year. Again, this is dependent on how often and how much espresso you brew. At hand, you should have a new group casket and new shower screen. Depending on the espresso machine you own, an Allen may be necessary to unscrew the screw in the middle of the coffee screen. Below is a general procedure to replace the group casket and shower screen. The instructions are specific for the Profitec Go, Profitec 300 and Casa V. But in general, the process is similar for most espresso machines with a few minor differences.
How to remove the old group casket and shower screen and install new replacement parts
- Make sure the espresso machine is turned off, unplugged and at room temperature.
- Remove the water tank, and all moving parts if you need to turn the espresso machine on its side to have clear access to the brew group.
- Loosen the screw, counterclockwise, located at the middle of the shower screen with a 3mm Allen key if you have one of the espresso machines mentioned above.
- At this point, remove the shower screen and brass shower plate.
- Clean the groove for any residue you see.
- Insert the new group casket with rounded edges facing upwards.
- Screw in the shower screen brass plate and new shower screen.
- You’re done.
You might also see another small gasket, this in the group head. This isn’t the gasket that sees the heavy wear and tear that the group casket sees. But if you notice any damage, then replace this as well. This part is usually done when you service the espresso machine at an authorized dealer after 3-4 years.
Be diligent when purchasing the replacement group head gasket and shower screen. You’ll want correct parts as there are some variations available. The group casket for example, might come in 8.5mm or 8mm, in this case (for Profitec Go) the correct size is 8mm.
This part of maintenance is also an opportunity to not only replace the parts but also upgrade them to better quality group head gasket and shower screen. The Cafelat silicone gasket is one example as it’s more durable than the original. The shower screen can also be upgraded, and the IMS product is one option.
Wrapping it up
It might seem like a lot to take in, but in practice the maintenance process will become second nature. In most cases, it’s just a matter of remembering to get it done. So, do your part and provided you purchased a quality made machine, the machine will do its part and not require any service before the scheduled service stated by the espresso machine seller.

